Using the Advanced Call Flow builder
The Advanced Call Flow builder allows you to create complex routing configurations quickly and easily using our drag-and-drop interface. We also have a number of walkthrough and best practice guides to help in setting up your advanced call flows.
Getting Started
To start building or updating an advanced call flow, please follow the below steps:
- Click on Numbers in the sidebar.
- Click on the number name to access the routing.

- Select Advanced Call Flow in the number details pane.
Understanding the Advanced Call Flow builder interface
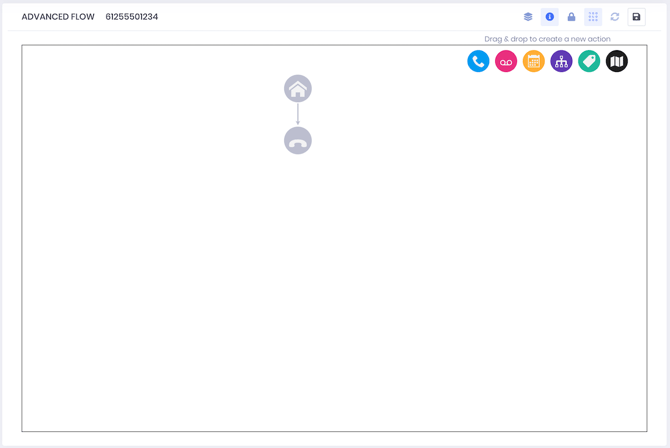
If you are starting to build new a call flow from scratch, the Advanced Call Flow builder starts with two mandatory, default call flow actions on the canvas: call start (![]() ) and call hangup (
) and call hangup (![]()
).
If you are editing an existing call flow, the call flow for your tracking number will be shown on the canvas.
The grey line between the actions indicates the direction of flow of an incoming call.

Call flow actions
Available call flow "actions" for configuration are shown in the top right hand corner of the canvas.
| Action | Action Name | Description |
| Transfer | Transfer incoming calls to an answer point. | |
| Voicemail | Allow the caller to leave a voicemail and configure missed call alerts to be sent to relevant parties by email and/or SMS. | |
| Time Routing | Filter calls to the next action by time of day and day of the week. | |
| IVR/Menu |
Offer callers an IVR menu with a number of options to route them through to the right department for their needs. |
|
| Tag |
Assign a smart tag to calls that pass this action in the call flow. Please note: This is not required for IVR menus, as they tag automatically based on the selections. |
|
| Round Robin |
Evenly distribute calls between multiple answer points. Please note: This is available in the beta version of our new dashboard at app.wildjar.com. |
|
| Play |
Play a recording or message using MP3 or text to speech (TTS) to the caller. Please note: This is available in the beta version of our new dashboard at app.wildjar.com. |
|
|
Location Routing |
Transfer callers to the right location based on the caller's exchange (landlines) and/or mobile location (mobile calls to 13, 1300 or 1800 services only). |
Walkthrough and best practice guides
We have a number of walkthrough and best practice guides on how to set up advanced call flow which are tailored to specific call flow actions:
