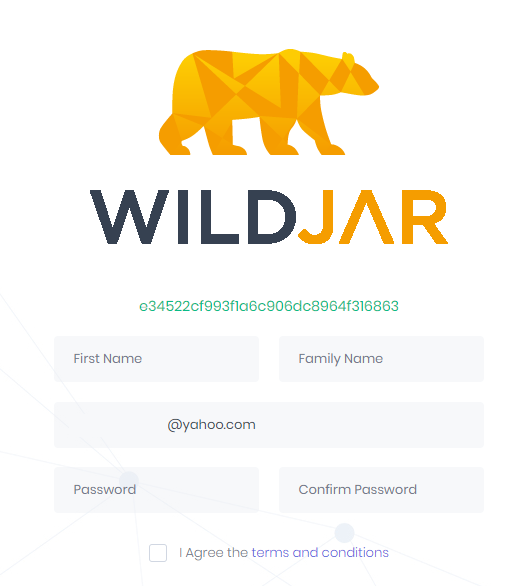
Invite your teammates or clients to the WildJar dashboard
You can grant access to your teammates or clients by sending them an invite. When they accept their invite, they will be able to choose a new password.
Sending an invite
- Click +
in the top right hand corner of the dashboard
- Select Invite User
- Enter the new user's email address - this will be where they receive their invite and will also be their username
- Select the main account the user will have access to, if this account has other accounts underneath it, they will also be granted access to those accounts as well.
Tip: If you give a user access to Account with sub-accounts (20002) on the below list, it gives them access to that account as well as Account 1, Account 2 and Account 3.
Note: If you need to give access to multiple accounts which do not have a common parent account, you can click Multi Account Access to select which accounts to grant access to. - Select the appropriate access level for the user:
reports - This gives the user access to only view the dashboards and data without being able to add more phone numbers and change settings.
conf - Give access to reports plus being able to change number configuration settings
users - Ability to add users to the account
billing - Access to invoices and payments
admin - Full administrative access to the account - Select whether the user will have access the web phone for outbound calls
- Click Create
An invite will now be sent to the user's email address.
Invited user experience
Your teammate or client will receive an email notification with a link to accept the invitation.
Note: If you are using a white labelled portal, the invite will contain your own branding.

Once the invitation is clicked, the user will be able to set up their profile.

